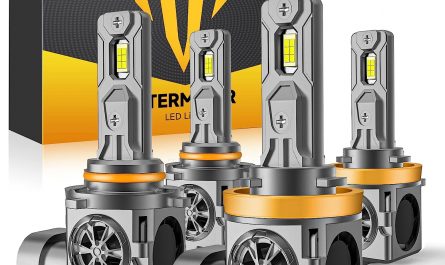
Merry-jeep-mas

How to adjust a motorcycle headlight

A motorcycle’s headlight adjustment is essential considering that poor sight at evening can imply the distinction among a secure ride and colliding with an object or yet another car. Headlight adjustment may differ among life and death when riding a motorbike at evening since moving automobiles and animals can outcome in fatal crashes. Fortunately, companies make adjusting a motorcycle headlight for the ideal visibility effortless.

The headlight of a motorcycle should be adjusted appropriately to safeguard the rider. A motorcycle’s headlight is often the sole offered light supply when traveling at evening. The rider will not be in a position to see the road ahead properly sufficient to handle the motorcycle safely if the headlight is pointed incorrectly. Headlamp adjustment screws may possibly turn into loose or break due to vibration more than time, which will trigger the headlight to move into an inoperable position. When needed, modifications or repairs ought to be created right away following routinely checking the alignment of the headlights. A headlamp adjustment only wants a couple of basic tools and a functioning understanding of mechanics.

Best way to adjust a motorcycle headlight

Total time:1 hour

Step 1 – Consult your service manual for the right adjustment method for your motorcycle’s make and model.

While some headlights have screws as adjustments, other people have knobs. While some adjusters are hidden and tough to attain, other people are open and accessible with lengthy screwdrivers. Whatever methods your manual specifies, completely study and comprehend them prior to adjusting your headlight. To make a correct adjustment at evening, when the headlight beam can be noticed when shone at a distant surface, recognize the adjusters in the course of the day and maintain a note of their areas.

Step two – Find a level ground

preferably paved or concrete, subsequent to a garage door or wall that is light in colour. The ground wants to be level among the two points considering that you require to make your adjustment 25 feet away from the wall or entrance. Mark the place with a piece of masking tape when it is 25 feet from the wall. As you adjust, you will place your front wheel on the mark created by the masking tape.

Step three – Measure the distance

From the ground to the center of your headlamp, measure the distance. Make a pencil mark the identical height as your headlight measurement on the wall or garage door. Draw a straight line more than your pencil mark with a carpenter’s level, and then spot a piece of masking tape with its prime edge aligned with the line. This will guide you although adjusting the higher beam on your headlight. Two inches reduced, make yet another mark. Next, match the prime edge of a piece of masking tape with the second line you drew, which ought to be straight and level. This serves as your low-beam reference.

Step four – Direction of the light

Sit on the motorcycle although holding it straight, the headlight facing forward, and the front tire resting on the mark you created with the masking tape. The reduced piece of masking tape ought to match up with the upper reduce-off line of the low beam. The upper piece of masking tape and the higher beam ought to line up. Turn the adjusters as directed in your service manual till the beams are precisely centered and shining on their marks if they do not line up dead center on the masking tape lines.

Step five – Test Headlight

Ride your motorcycle meticulously, specially when crossing train tracks, hilly roads, or any other surface that could jiggle your headlight out of alignment. Return the motorcycle to the point exactly where you adjusted the headlight, spot the front wheel on the mark created by the masking tape, and test the light when far more. You’re OK to go if the light is nevertheless straight in the center. If the light has somewhat moved, refocus the beam, test it when far more, and repeat if needed. If the light has shifted noticeably, you may have an adjuster that has to be fixed since it is malfunctioning or broken. However, if the lights are dimmed, and you want to restore their brightness, you can buy a headlight restoration kit

Supply:

  • Masking tape

Tools:

  • Screwdriver