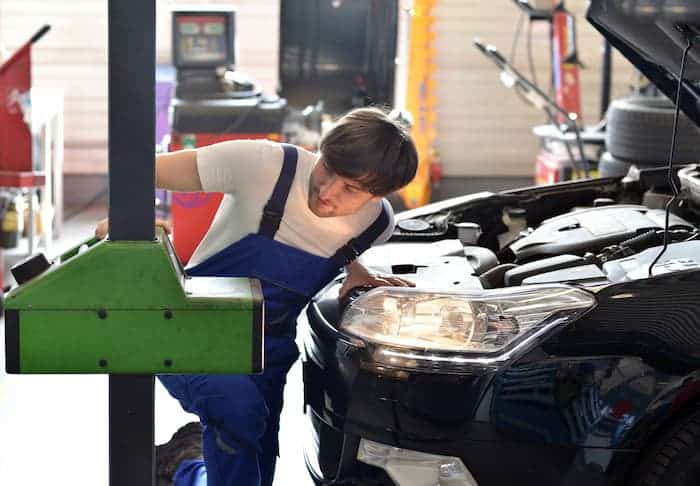
The headlight bulbs themselves, the fuses that operate on the circuit to defend it from energy surges, the wiring harness bringing energy to the headlights, or the headlight switch, which makes it possible for the driver to switch amongst low and higher beams, could all have failed if your car’s headlights stopped functioning. Your headlight faults could be brought on by any of these elements. Although we have a complete guide to your headlight repairs, the answer to your headlight issues can be identified beneath:
Step 1
Turn your headlights on. Replace any headlight bulb that is not functioning. Although the process for changing a headlight bulb varies by vehicle make and model, in common, detach the wiring harness from the back of the headlight assembly, unhook the holding clip, and pull out the bulb. Replace the bulb, fasten it using the retaining clip, then plug the wiring harness back in. Recheck the headlights. If none of them turn on, move on to the subsequent step.
Step two
Open the fuse box in the engine compartment. Remove the fuse that controls the faulty headlight circuit. Check for discoloration on the fuse. Replace if needed and change the headlight relay. Turn on the headlights when much more. If none of these function, move on to the subsequent step.
Step three
Connect your voltmeter’s damaging lead to your car battery’s damaging terminal. Connect the voltmeter’s constructive lead to the wiring harness’s constructive lead. The constructive lead, which is generally the red wire, receives energy. Make that the wire harness is getting present. If no present is flowing by way of, replace it. Turn on the headlights when much more. If they nonetheless will not switch on, move on to the subsequent step.
Step four
Disconnect the vehicle battery’s damaging battery cable. Remove the bezel from the steering wheel’s steering column. Remove the wiring block from the headlight switch’s back. Check for discolored connections on the wire block or headlight switch. Use a pencil eraser to cautiously clean them. Replace the plug and switch on the headlights. If they nonetheless do not function, the headlight switch might want to be replaced.
How to repair headlight wiring
The headlight circuit in most vehicles consists of 4 standard elements: the headlight bulb, the wiring harness (which supplies energy to the headlight bulb), and the fuse (which protects the circuit from energy surge harm). The headlight circuit might not function if any of these basic components are broken. You can repair or replace these elements in a basic diagnostic process.
Step 1
Turn on your headlights and decide which is broken. Turn the headlights off.
Step two
With your crescent wrench, loosen the damaging battery terminal screw. Remove the damaging battery cable from the terminal with your fingers.
Step three
Disconnect the electrical harness on the headlight assembly’s backside. Make that the contacts in the headlight socket and the wiring harness are clean. Look for corroding and discoloration.
Step four
With the pencil eraser, take away the leading layer of corrosion. To avert future corrosion, apply a dab of dielectric grease to the wiring harness contacts. Re-connect the electrical harness to the headlight socket. Connect the damaging battery terminal to the damaging cable. Turn on the headlights when much more. Move to the subsequent step if this doesn’t function.
Step five
Open your car’s fuse box.
Step six
For the headlight that is not functioning, take away the fuse that controls the headlight circuit. Make confident the fuse is not blown. As required, replace. Recheck the headlights. Move to the following step if the 1st does not function.
Step 7
Disconnect the headlight wiring harness from the faulty headlight. Connect the voltmeter’s damaging lead to the damaging battery terminal. Connect the voltmeter’s constructive lead to the headlight wiring harness’s constructive wire. Current must be flowing by way of the constructive wire. Make that the constructive wire is getting present. Replace the headlight bulb and turn on the headlights once again if present is coming by way of the wire harness. Move to the subsequent step if no present is flowing by way of the wiring harness.
Step eight
Return to the fuse box by following the headlight wiring cable. Examine the cable insulation for any tears. Unplug the battery’s negative cable if any tears are found. With your wire cutters, reduce the cable at two points: just before and right after the tear. With your solder sleeve connectors and the heat gun, reconnect every wire in the cable. Remove 1/two inch of insulation from every wire’s finish. Over a single of the wires, location the solder sleeve connector. Neutral to neutral, constructive to constructive knot the bare leads of the relevant wire. Over the braided leads, location the solder sleeve connector. To melt the solder inside the solder sleeve connector, heat the connector. Check that the headlights are functioning by turning them on.
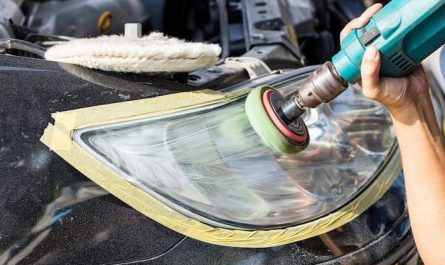
Conclusion
Once you are accomplished fixing your vehicle headlights, turn them on and verify how vibrant they are. If the beam illuminating from the headlight lenses are not clear, it implies you have to also restore your car’s headlight lenses. To do this, kindly get a headlight restoration kit from your nearby retailer or on the internet and use it to wipe your headlights routinely to get rid of oxidation.