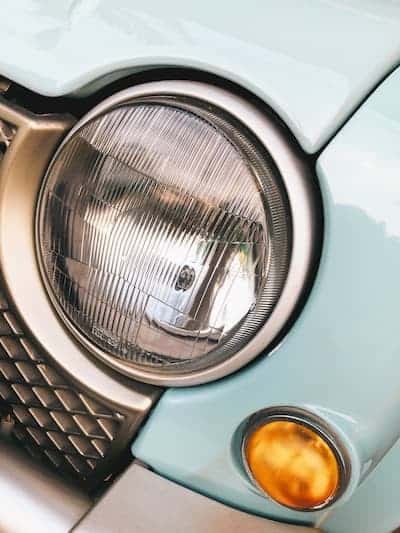
Has all your DIY car headlight restoration been only on the outer portion of your vehicles’ lens? This can be the cause why you nevertheless expertise a foggy oxidized headlight shortly following a restoration approach! Headlights are a single of the most essential characteristics in a automobile for a lot of motives. They are the eyes and beauty of a automobile. Without them, driving at evening would be not possible. Still, even though every single car comes with a headlight, the brightness and how far the beam can attain depends on how clear the headlights appear.
An oxidized or foggy searching headlight hinders a driver from seeing the complete viewpoint and objects on the road. This can lead to severe security dangers to the driver such as collision or bent wheel as a outcome of driving into a ditch or pothole. With a headlight lens restorer, the original energy of your beam is assured but only if you clean each the inside and the outer components of your car headlights. Cleaning the inside of a car’s headlight can pose a bit of a challenge specifically when they have their bulbs, lens, and reflector in a sealed housing.
These sealed headlights are much more reasonably priced and sturdy but, there is a catch! In the occasion of a broken headlight bulb or a burn out, you will have to replace the complete headlight on that section. So, how do you clean the inside of a sealed headlight? The very first step is to figure out the kind of headlight your automobile has.
Types of Car Headlights
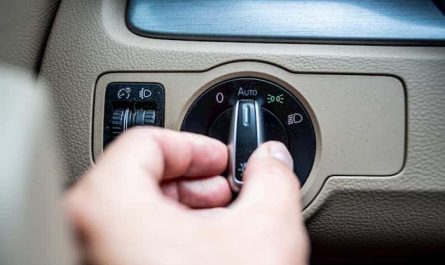
Sealed Headlights: These headlights come in a single to 4 light program design and style. Each light program characteristics each low and higher beams based on the quantity of bulbs. To know if your automobile makes use of a sealed headlight, open your automobile hood and verify if bolts are holding a flat metal piece covering the headlight and its surrounding. If there is, then you are utilizing sealed headlights.
Composite Headlights: The composite headlight was introduced correct following the sealed headlights. These headlights function a replaceable lighting program. Unlike the sealed beam with glass housing, the composite headlights are mainly produced of plastic lenses with adequate space for automobile designers to set up a navigation light or fog lamp.
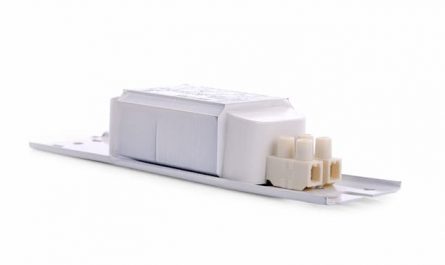
HID Headlights: High-intensity discharge (HID) headlights are trustworthy for their brighter beam. They include xenon gas and 4 occasions longer than the composite headlights. This is due to the fact they consume much less energy and need an independent fuse referred to as “ballast” to manage the energy that flows to the bulb. However, they are much more pricey to replace than the sealed and composite headlights.
Projector Headlights: As the name suggests, the projector headlight is constructed for concentrate. This headlamp characteristics a metal shield in front of the bulb that moves down to let a complete-length concentrate on the path of the headlight. Projector headlights come in each HID and Halogen versions. Thus, generating it pricey to obtain or replace as compared to the aforementioned headlights.
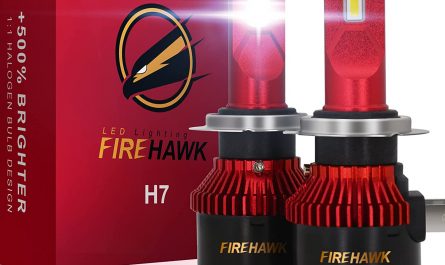
Led Headlights: Led headlights have been very first introduced in higher finish automobiles like Mercedes Benz, Lexus, and Audi. These headlights are much more sophisticated in technologies and make use of light emitting diodes alternatively of filament bulbs and gas. Because of their low power demands, they can also be utilised on other low class automobiles. However, in terms of brightness, there is not significantly distinction in between halogen headlights and LED.
Five Simple Steps On How To Clean The INSIDE of a SEALED HEADLIGHTS
Now that you are conversant with the kind of headlight on your car, if you personal a sealed headlight and it appears cloudy, foggy, or oxidized, adhere to the easy methods for your car headlight restoration.
STEP One particular: Get rid of THE HEADLIGHT HOUSING.
First factors very first! To acquire access to your sealed headlights, you have to get rid of any chrome, metal trim, or bezel that might cover the headlight. To do this, you might want to make use of a specific screwdriver such as the phillips-head or a pozidriv tool. A metal screw ring is utilised to hold the sealed headlamp itself so you will have to unscrew them.
If your headlights are round, they will be held with 3 screws. Rectangular units are held by 4 screws. These screws are diverse from the headlight aiming screws. The aiming screws come in two pieces per headlight and are situated at either the leading or bottom of the headlight. Be cautious not to tamper with them whilst removing your headlight.
STEP TWO SPRAY THE SCREWS.
Before you try to get rid of the screws holding the headlights, I advise you spray them with a penetrating solvent. Or grease them with oil. This is to lessen the friction when unscrewing them to keep away from widening the hole the screws go by means of. After you have greased or spray the screws, hold the headlamp and get rid of the remaining ring bolts.
Once you are completed, reduced the headlight very carefully from its receptacle. You will see a wiring connector that pushes onto prongs at the back of your sealed headlight. Detach them and set your headlights apart.
STEP 3: WASH YOUR HEADLIGHT Completely WITH AN AUTOMOTIVE SOAP.
With your car’s sealed headlights effectively detached and unsealed, use your sponge and a excellent specialized automotive soap to wash the surface and inside of your car’s headlights entirely. Once you are completed, rinse completely to make certain that particles of dirt, debris, and soap are removed entirely from the inside of your headlight. Then, wipe your headlight with a soft microfiber towel to dry. Allow for about five minutes for your headlights to completely dry ahead of attempting step 4.
STEP 4: APPLY A HEADLIGHT LENS RESTORER
Open your restoration starter kit and with the very first wipe identified inside, clean your headlights completely. Once you are happy it is clean, dry the headlamps utilizing the paper tower identified in the kit.
Before proceeding additional, wait for about two minutes and make certain each of your headlights are entirely dry. Then, open the second packet identified in your restoration starter kit. Do not unfold, basically wipe each headlights gently for the final time. For the very best outcomes, let a waiting time of about 30 minutes following the very first wipe and you will be amazed by how extremely clean your sealed headlights appear.
After your car headlight restoration, keep away from obtaining your headlamps wet for at least half an hour so that the formula in your clear light tech restoration kit will continue to function and get rid of any oxidation you left untouched from your headlight.
STEP 5 REASSEMBLE YOUR SEALED HEADLIGHTS
Once you are completed cleaning your headlights, ahead of plugging back the wire connector onto the back of the restored headlight, use an aerosol electrical make contact with cleaner to wipe any corrosion from the socket connector. a
Attach the wiring connector with the prongs.
Fix back the headlights in their respective receptacle. Watch out for the modest bumps about the outer edge of the headlight’s and make certain every of them align with the modest openings in the headlight socket. Also, make positive that the headlights and their lenses are installed upright.
Next, gently hold your glass sealed beam and location the aiming screws and the screws holding the headlights to the automobile frame. If you notice that ring bold is broken, you ought to acquire a new a single. After tightening the aiming screws, reinstall the metal trim covering the light and hold them collectively with the bezel.
NB: you shouldn’t wash your automobile for the subsequent 24 hours to let a comprehensive restoration cycle.
Finally, to make positive your sealed headlights stay clean, appear new, and remain resistant to oxidation for an additional couple of years, I would advise you routinely clean and preserve them.